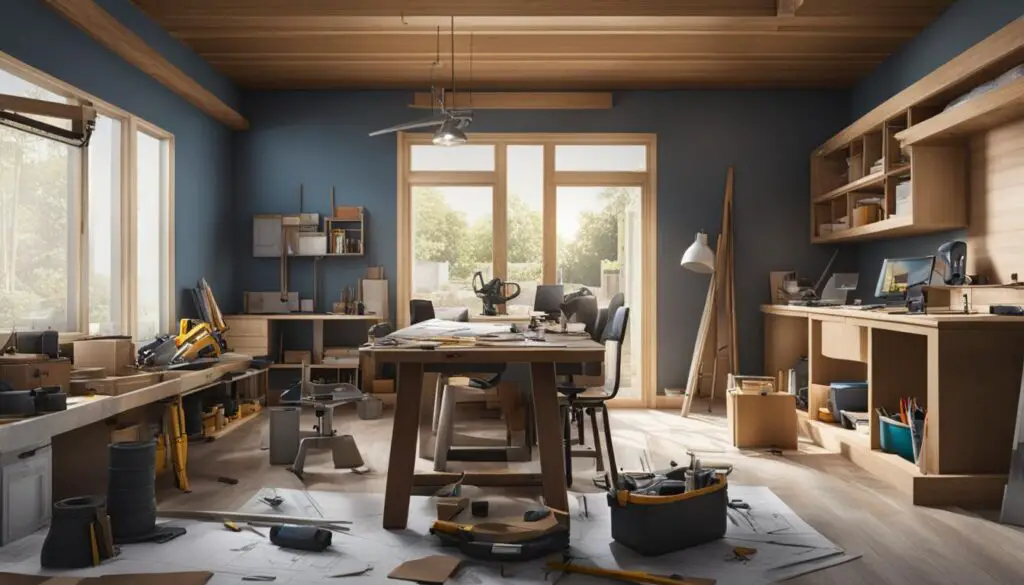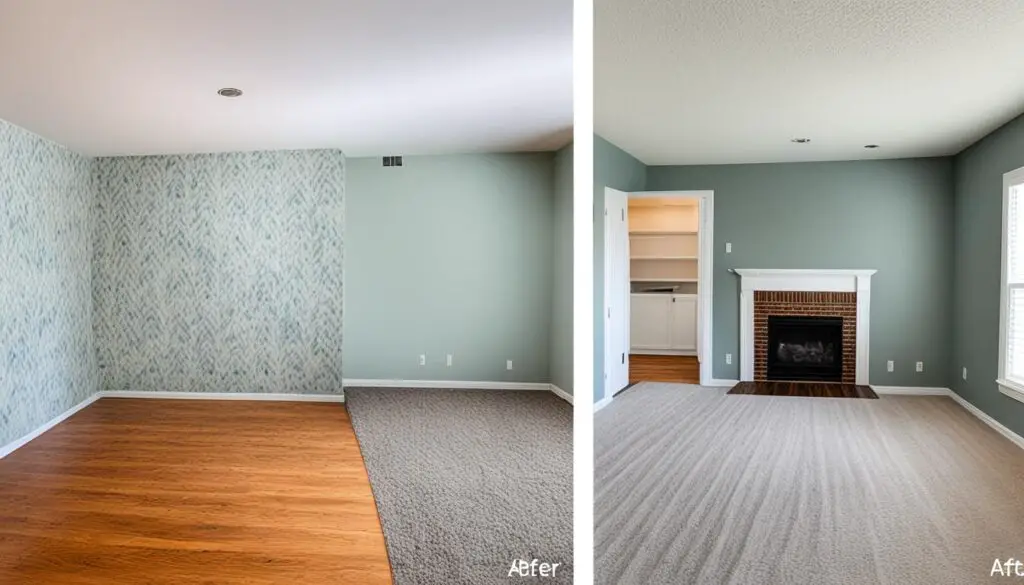
Planning a DIY renovation can seem overwhelming, but by following a structured approach, you can ensure a smoother and more successful process. This guide outlines essential steps to help you navigate your renovation project efficiently.
Define Your Renovation Goals
:max_bytes(150000):strip_icc():format(webp)/renovation_checklist-e7c376eb88ae44409a8c90d44d703551.jpg)
The first step in your DIY renovation journey is to clearly define what you want to achieve. Ask yourself what areas of your home need improvement and why you’re undertaking this project. Whether it’s to enhance your living space, increase your home’s value, or modernize out-of-date features, having a clear motivation will guide your decisions and help you communicate effectively with any professionals you may hire ([4][8]).
Set a Realistic Budget
:max_bytes(150000):strip_icc():format(webp)/1_setintentions-5c90d258e29e4a9fb4f67edb1431194a.png)
With your goals defined, the next step is to establish a budget. Evaluate your financial resources and include estimates for materials, labor, permits, and a contingency fund for unexpected expenses—typically an additional 10-15% of your total budget. This safety net is crucial, as surprises often arise during renovations ([1][3][8]). As you create your budget, consider all potential costs and be cautious to avoid overspending ([8]).
Create a Detailed Plan
![Ultimate Guide: Step-by-Step Home Renovation Checklist [Free PDF] 'a kitchen with white cabinets and a wood floor'](https://storiesofahouse.com/wp-content/uploads/2024/03/step-by-step-home-renovation-checklist-pdf.jpg)
After setting your budget, develop a detailed plan that outlines the scope of work. Consider the specific tasks involved, the order in which they should be completed, and any necessary materials or contractors. This planning stage will help prevent costly mistakes and delays later in the project ([1][2][3][6][7]). For larger renovations, you may find it beneficial to work with a designer or an architect to refine your plans and ensure they are feasible ([2][7]).
Breakdown Tasks into Phases
List out all the tasks required for your renovation. Organizing tasks into phases can help manage the workflow and keep the project on track. For example, early phases might include demolition and structural work, while later phases involve finishing touches such as painting and decorating ([7][8]):
Initial Assessment: Evaluate the current condition of the space, noting what needs improvement.
Structural Work: Address any necessary structural changes or repairs first, such as walls, roofing, or plumbing.
Final Finishes: Only after major work has been completed should you focus on aesthetics, like painting or installing flooring.
Research and Gather Inspiration
:max_bytes(150000):strip_icc()/3_hireteam-2b5a835b88e4424a8fc1b15ca969ab16.png)
Before proceeding, gather inspiration from various sources such as home improvement magazines, websites, or social media platforms. Document design ideas, materials you like, and colors that appeal to you to clearly communicate your vision[2][3][4]. This step will also involve researching local building codes and obtaining any necessary permits ([2][8]).
Hire Professionals When Necessary
:max_bytes(150000):strip_icc():format(webp)/3_hireteam-50064328712d4e458a76c2c8b62b3755.png)
Depending on the complexity of your renovation, you may need to hire professionals for specific tasks, such as plumbing, electrical work, or structural changes. It’s critical to find reputable contractors by checking references, reading online reviews, and obtaining multiple quotes ([2][4][5]). Meeting with potential contractors in person can also ensure they are a good fit for your project ([2][3][7]).
Prepare Your Space
:max_bytes(150000):strip_icc():format(webp)/4_prep-c5a9f5203b2d41eea389f202ddbce497.png)
As your renovation date approaches, prepare your living space. Clear out any areas where work will occur, and consider your temporary living arrangements if the renovation is extensive ([3][4]).
Communication and Documentation
Establish clear lines of communication with everyone involved in the project, including contractors and any laborers. Documenting interactions and decisions helps in case miscommunications arise later ([7]). Regular check-ins and updates can keep everyone on the same page and help resolve issues quickly.
Monitoring Progress
Once work begins, closely monitor the progress against your budget and schedule. Regularly check in on the quality of work being performed and ensure it aligns with your initial plans and specifications. This oversight will help maintain project continuity and address any problems before they develop into significant issues ([1][7]).
Final Inspections and Touch-ups

As you near completion, conduct thorough inspections to confirm everything has been done correctly, and make sure that safety and compliance standards are met. This includes checking structural integrity, plumbing, electrical systems, and adherence to local building codes ([1][2][3]). After confirming that everything is in order, focus on the post-renovation cleanup and organizing your newly revamped space to make it functional and inviting ([4][7]).
Celebrate Your Accomplishment
Finally, once your renovation is complete and your space is fully functional, take time to enjoy the result of your hard work. Celebrating the conclusion of your project can also provide a sense of closure and satisfaction for everything you have accomplished.
By following these structured steps, you can effectively manage a DIY renovation and transform your home into the space you’ve dreamt of, all while staying organized and within budget. Remember that each renovation journey is unique, so adapt these steps to fit your specific needs and goals.
Get more accurate answers with Super Pandi, upload files, personalized discovery feed, save searches and contribute to the PandiPedia.
Let's look at alternatives:
- Modify the query.
- Start a new thread.
- Remove sources (if manually added).